HOW DO YOU GIFT WRAP A PLANTER?
THE PERFECT GIFT FOR A PLANT LOVER
Whether for a Birthday or Christmas, Mother’s Day or Father’s Day, a special day, or even a regular Tuesday, there is never a bad time to gift a plant! Here at Capra Designs, we believe that every season is plant-gifting season.
There really is no greater way to celebrate a beautiful relationship than the gift of life. A lush plant that will blossom and bloom along with your journey. Something the receiver can display proudly in their home as a constant reminder of your love for each other. Stuck for Housewarming gift ideas? Valentine's days? Anniversaries? Whatever the occasion, never miss an opportunity to show your love.
Now, while we will defend our decorative indoor planters as some of the greatest gifts you can ever receive, we’d be lying if we said they are always the easiest things in the world to gift wrap efficiently.
That’s why we’re here with a step-by-step guide to show you how to wrap a plant and the accompanying plant pot like a professional.
All you’ll need is:
- Brown wrapping paper
- Scissors
- Masking tape
- Decorative ribbon and any other decorative flourishes you want to add
- Your potted plant and plant pot
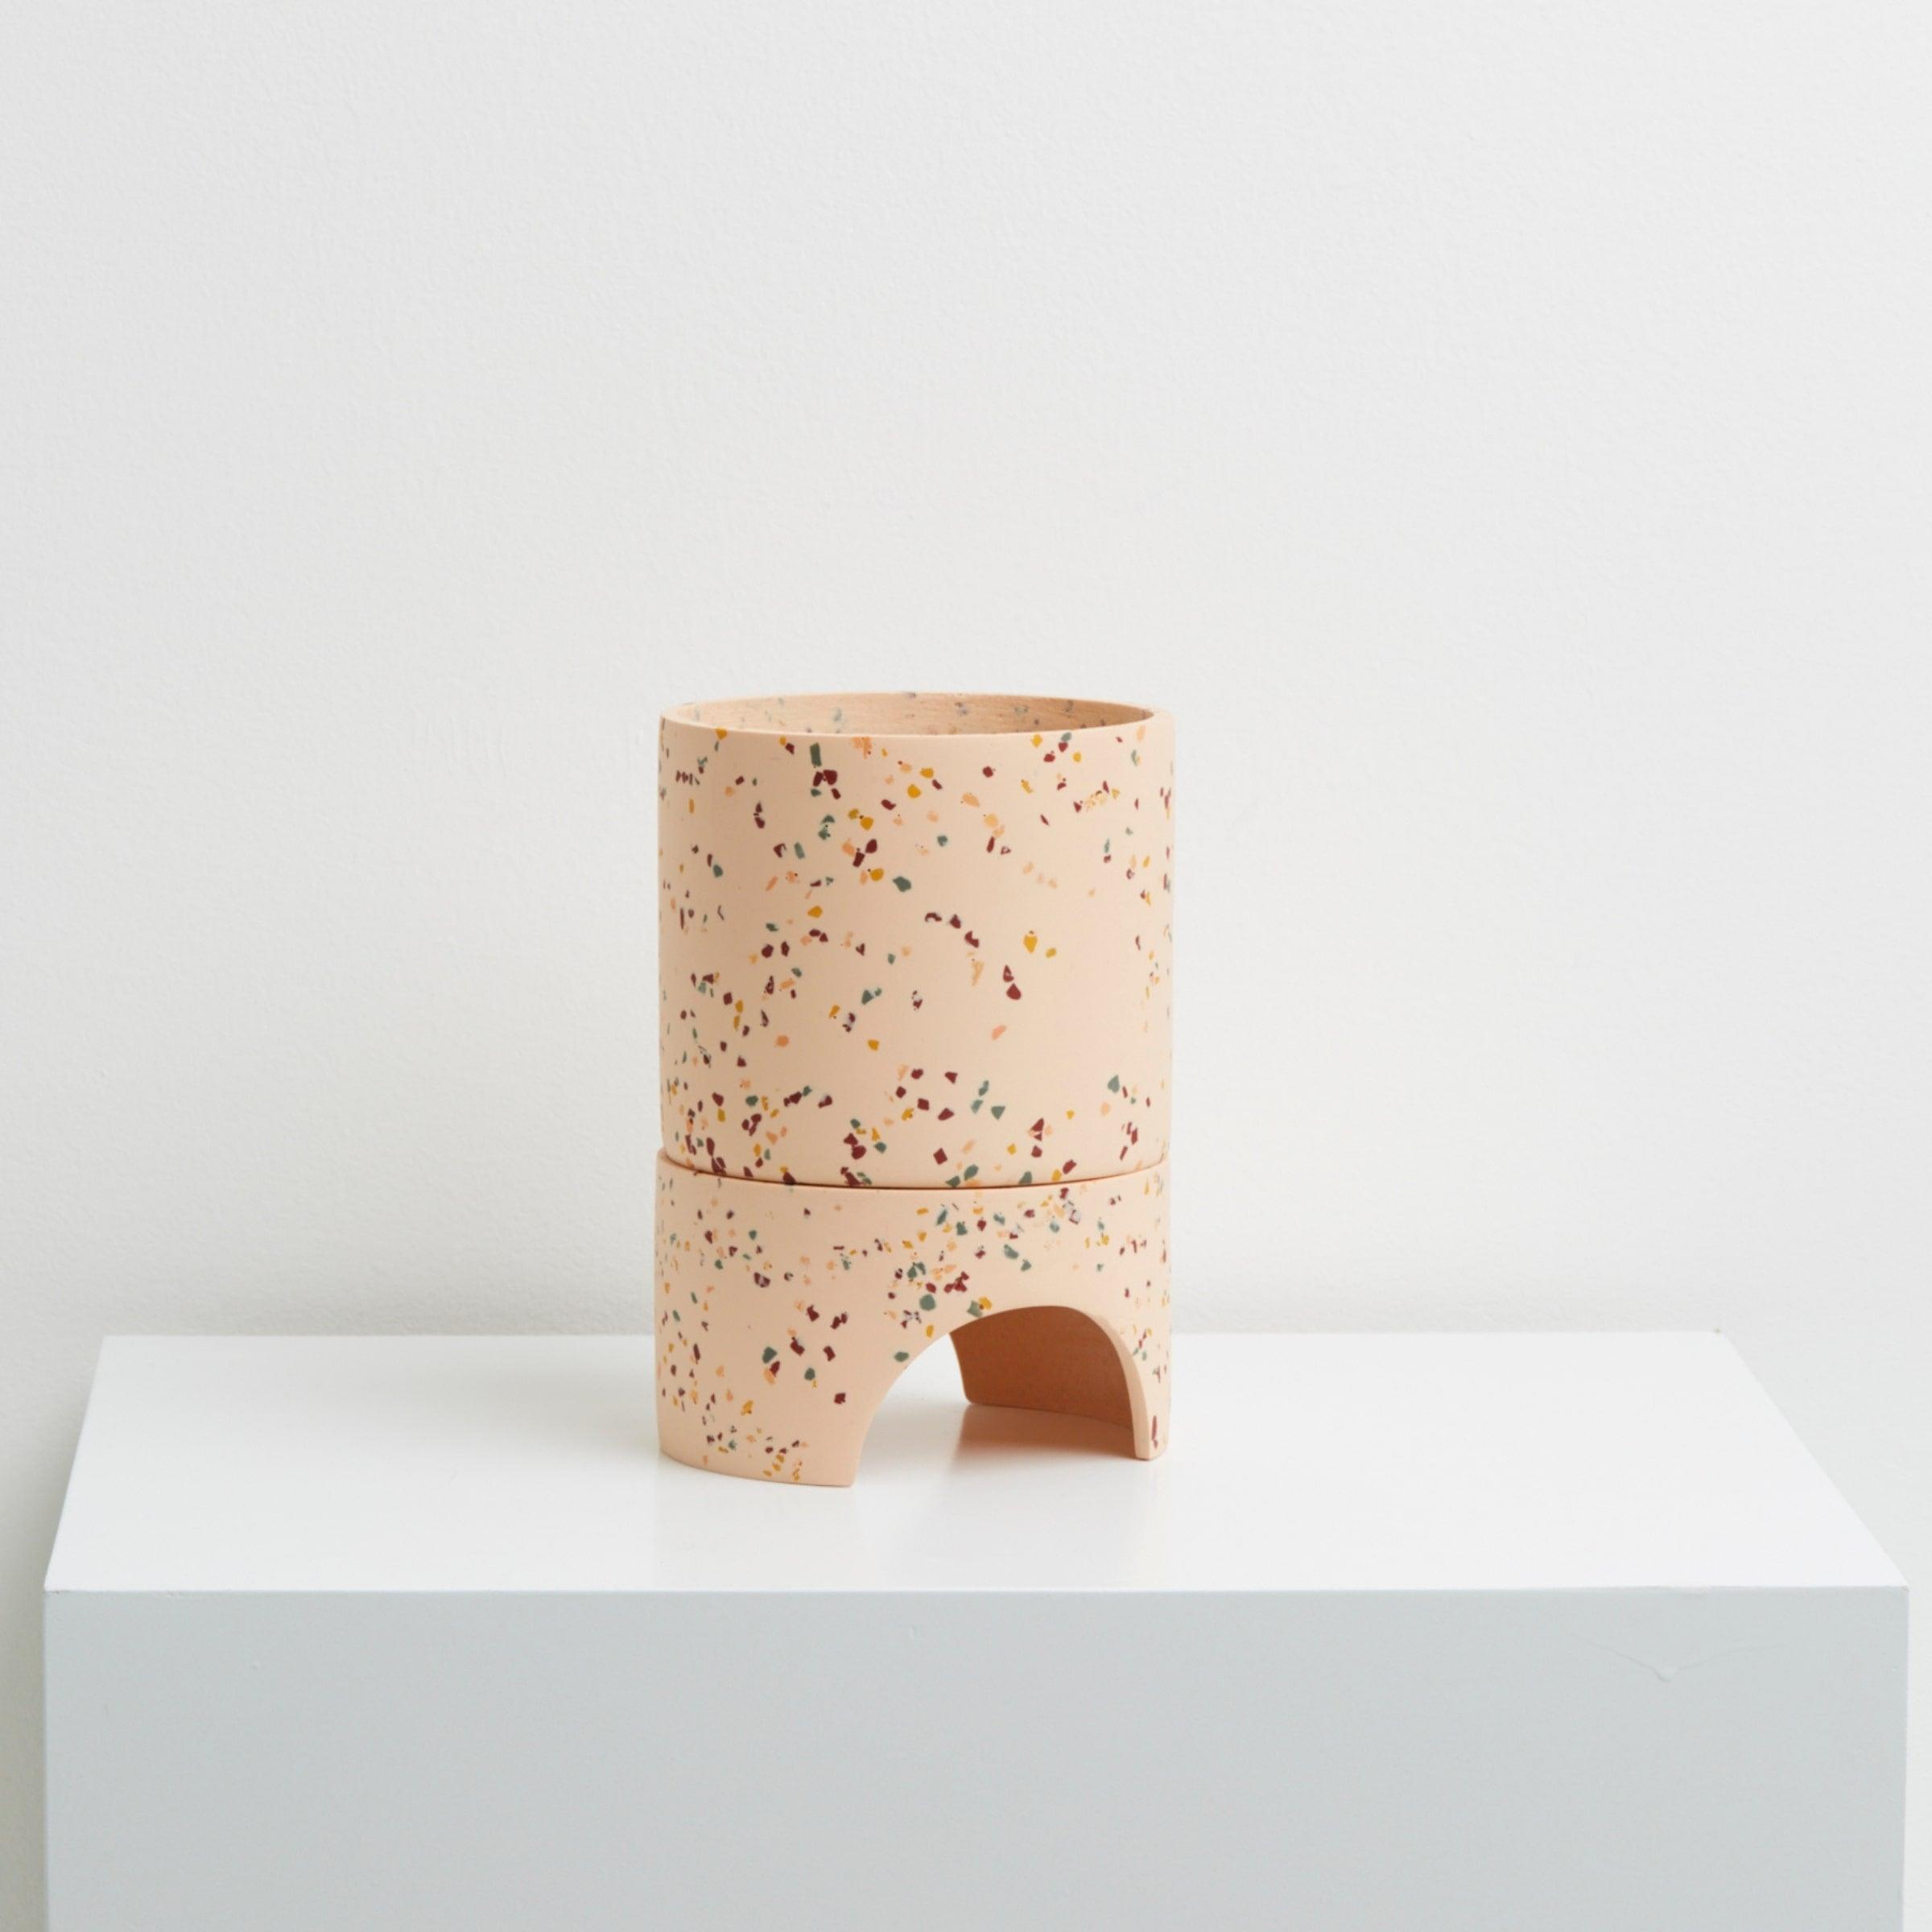
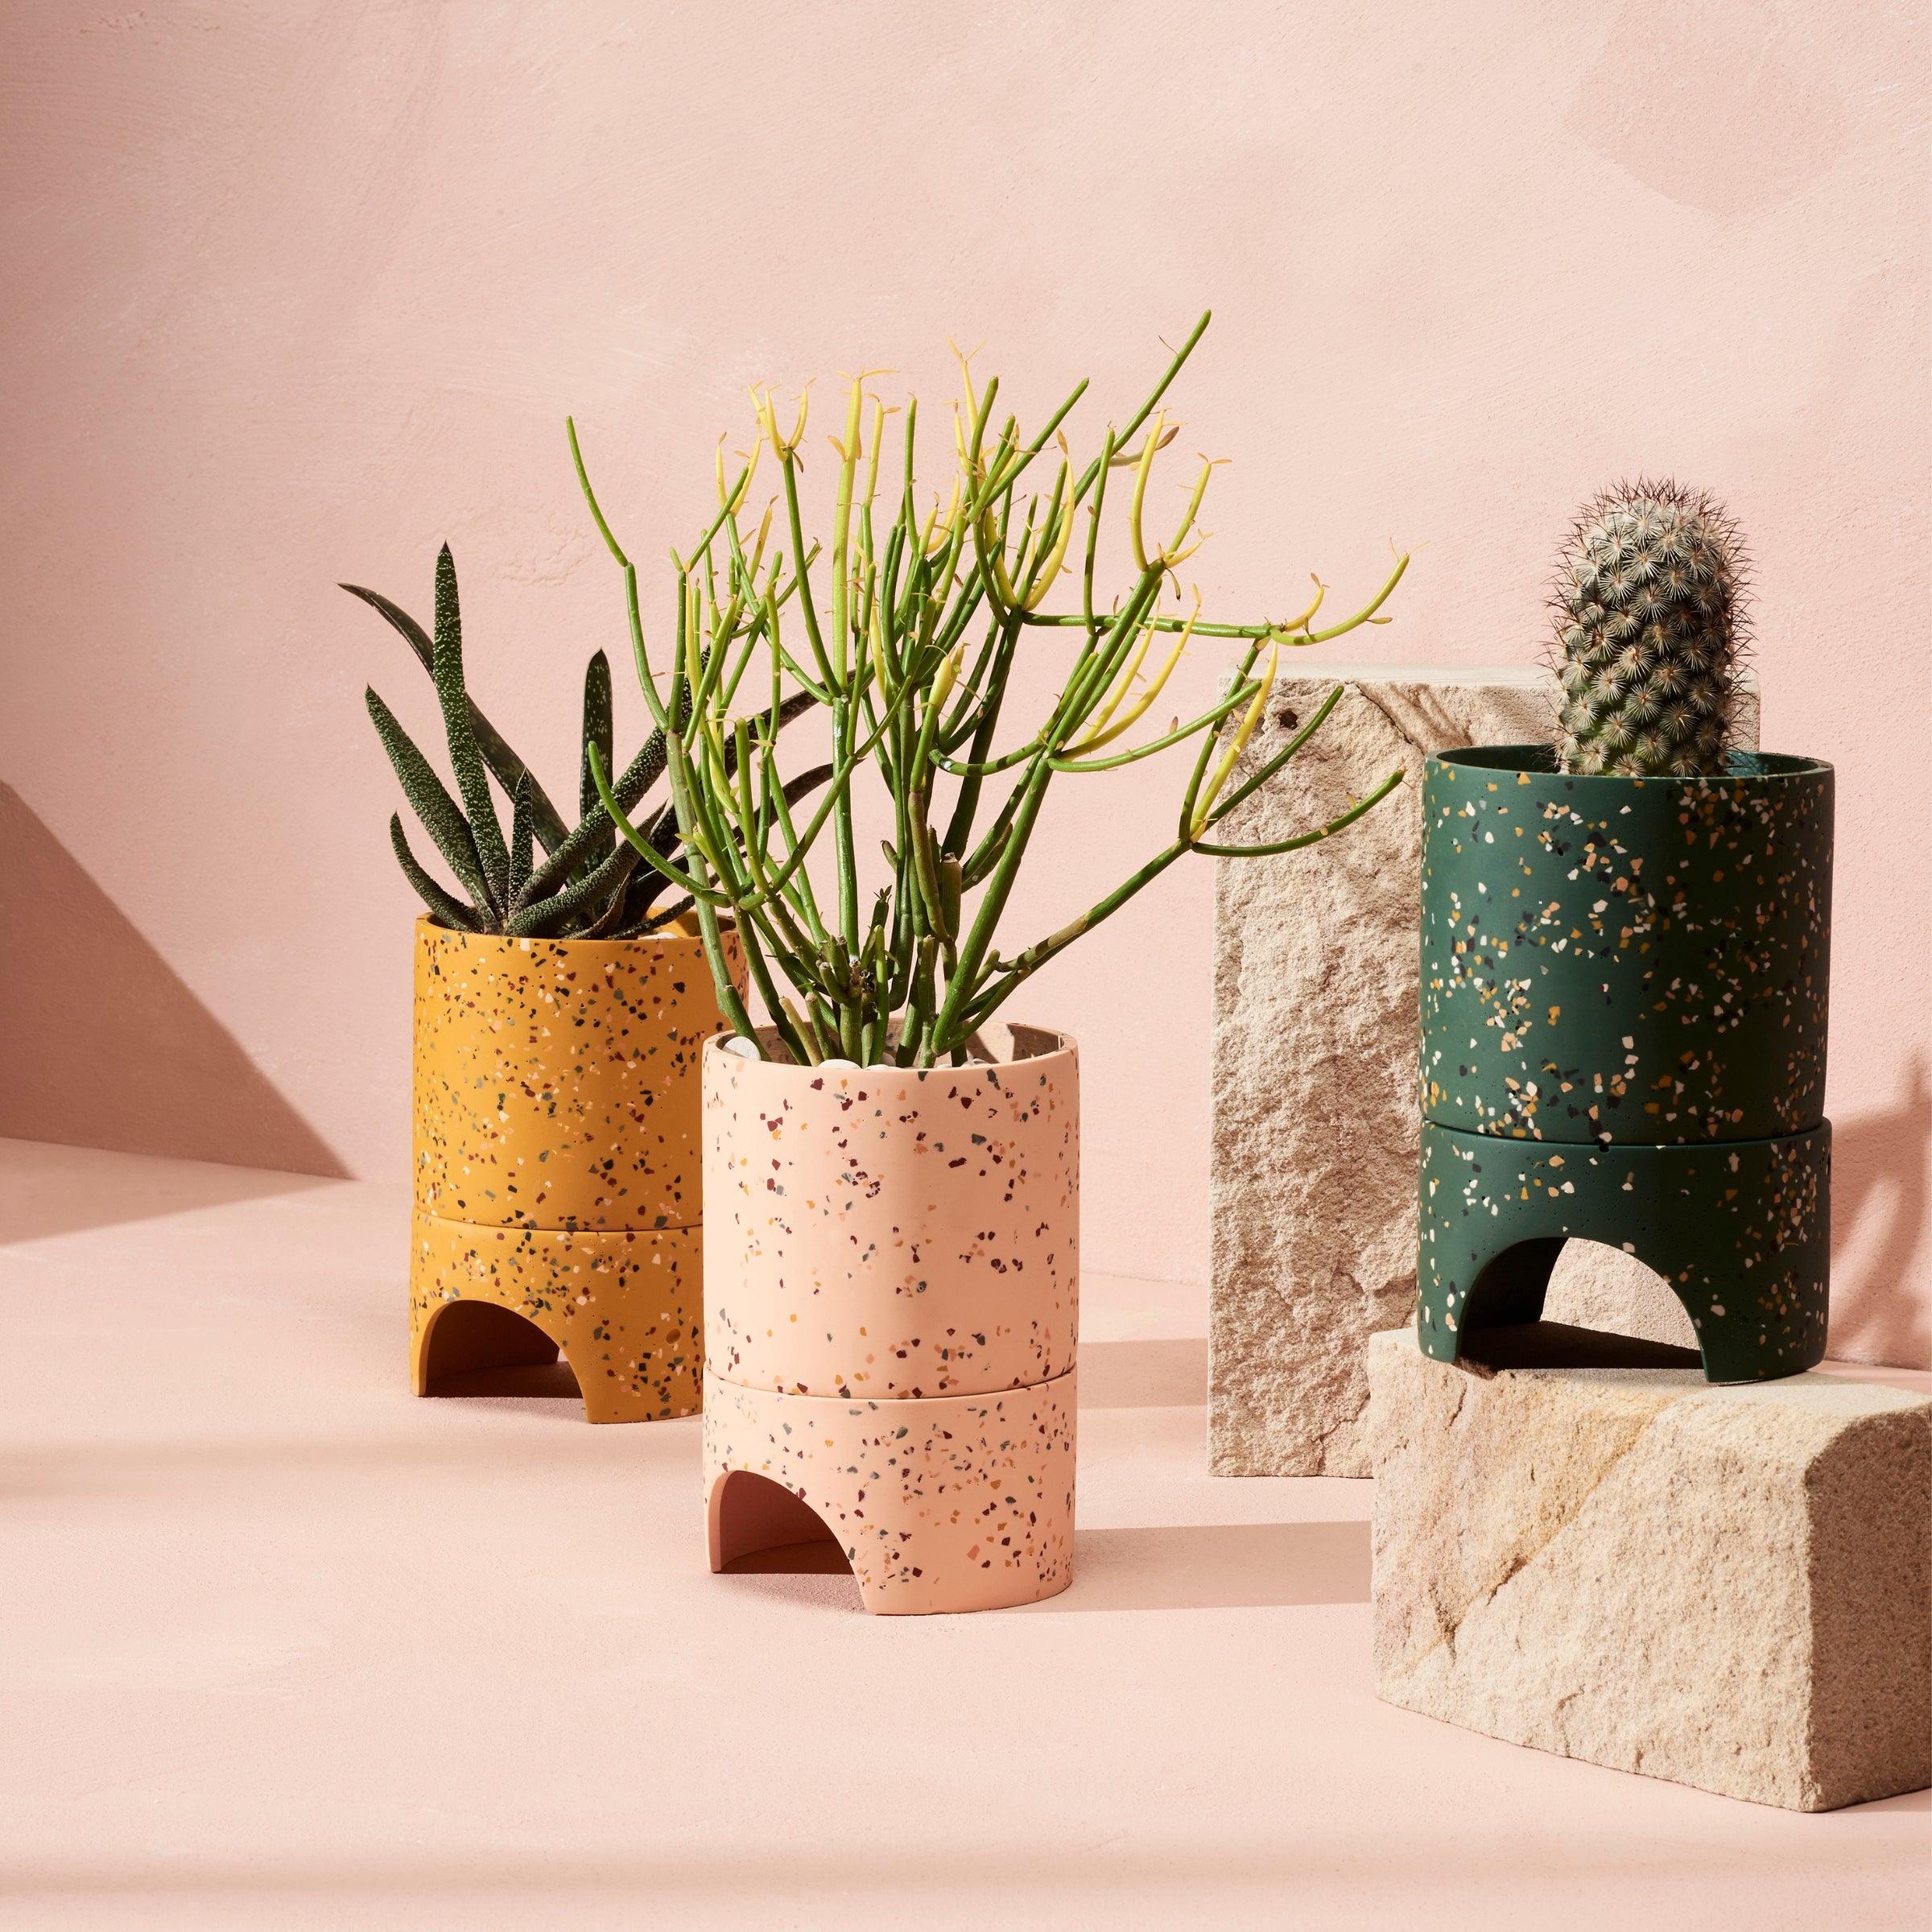
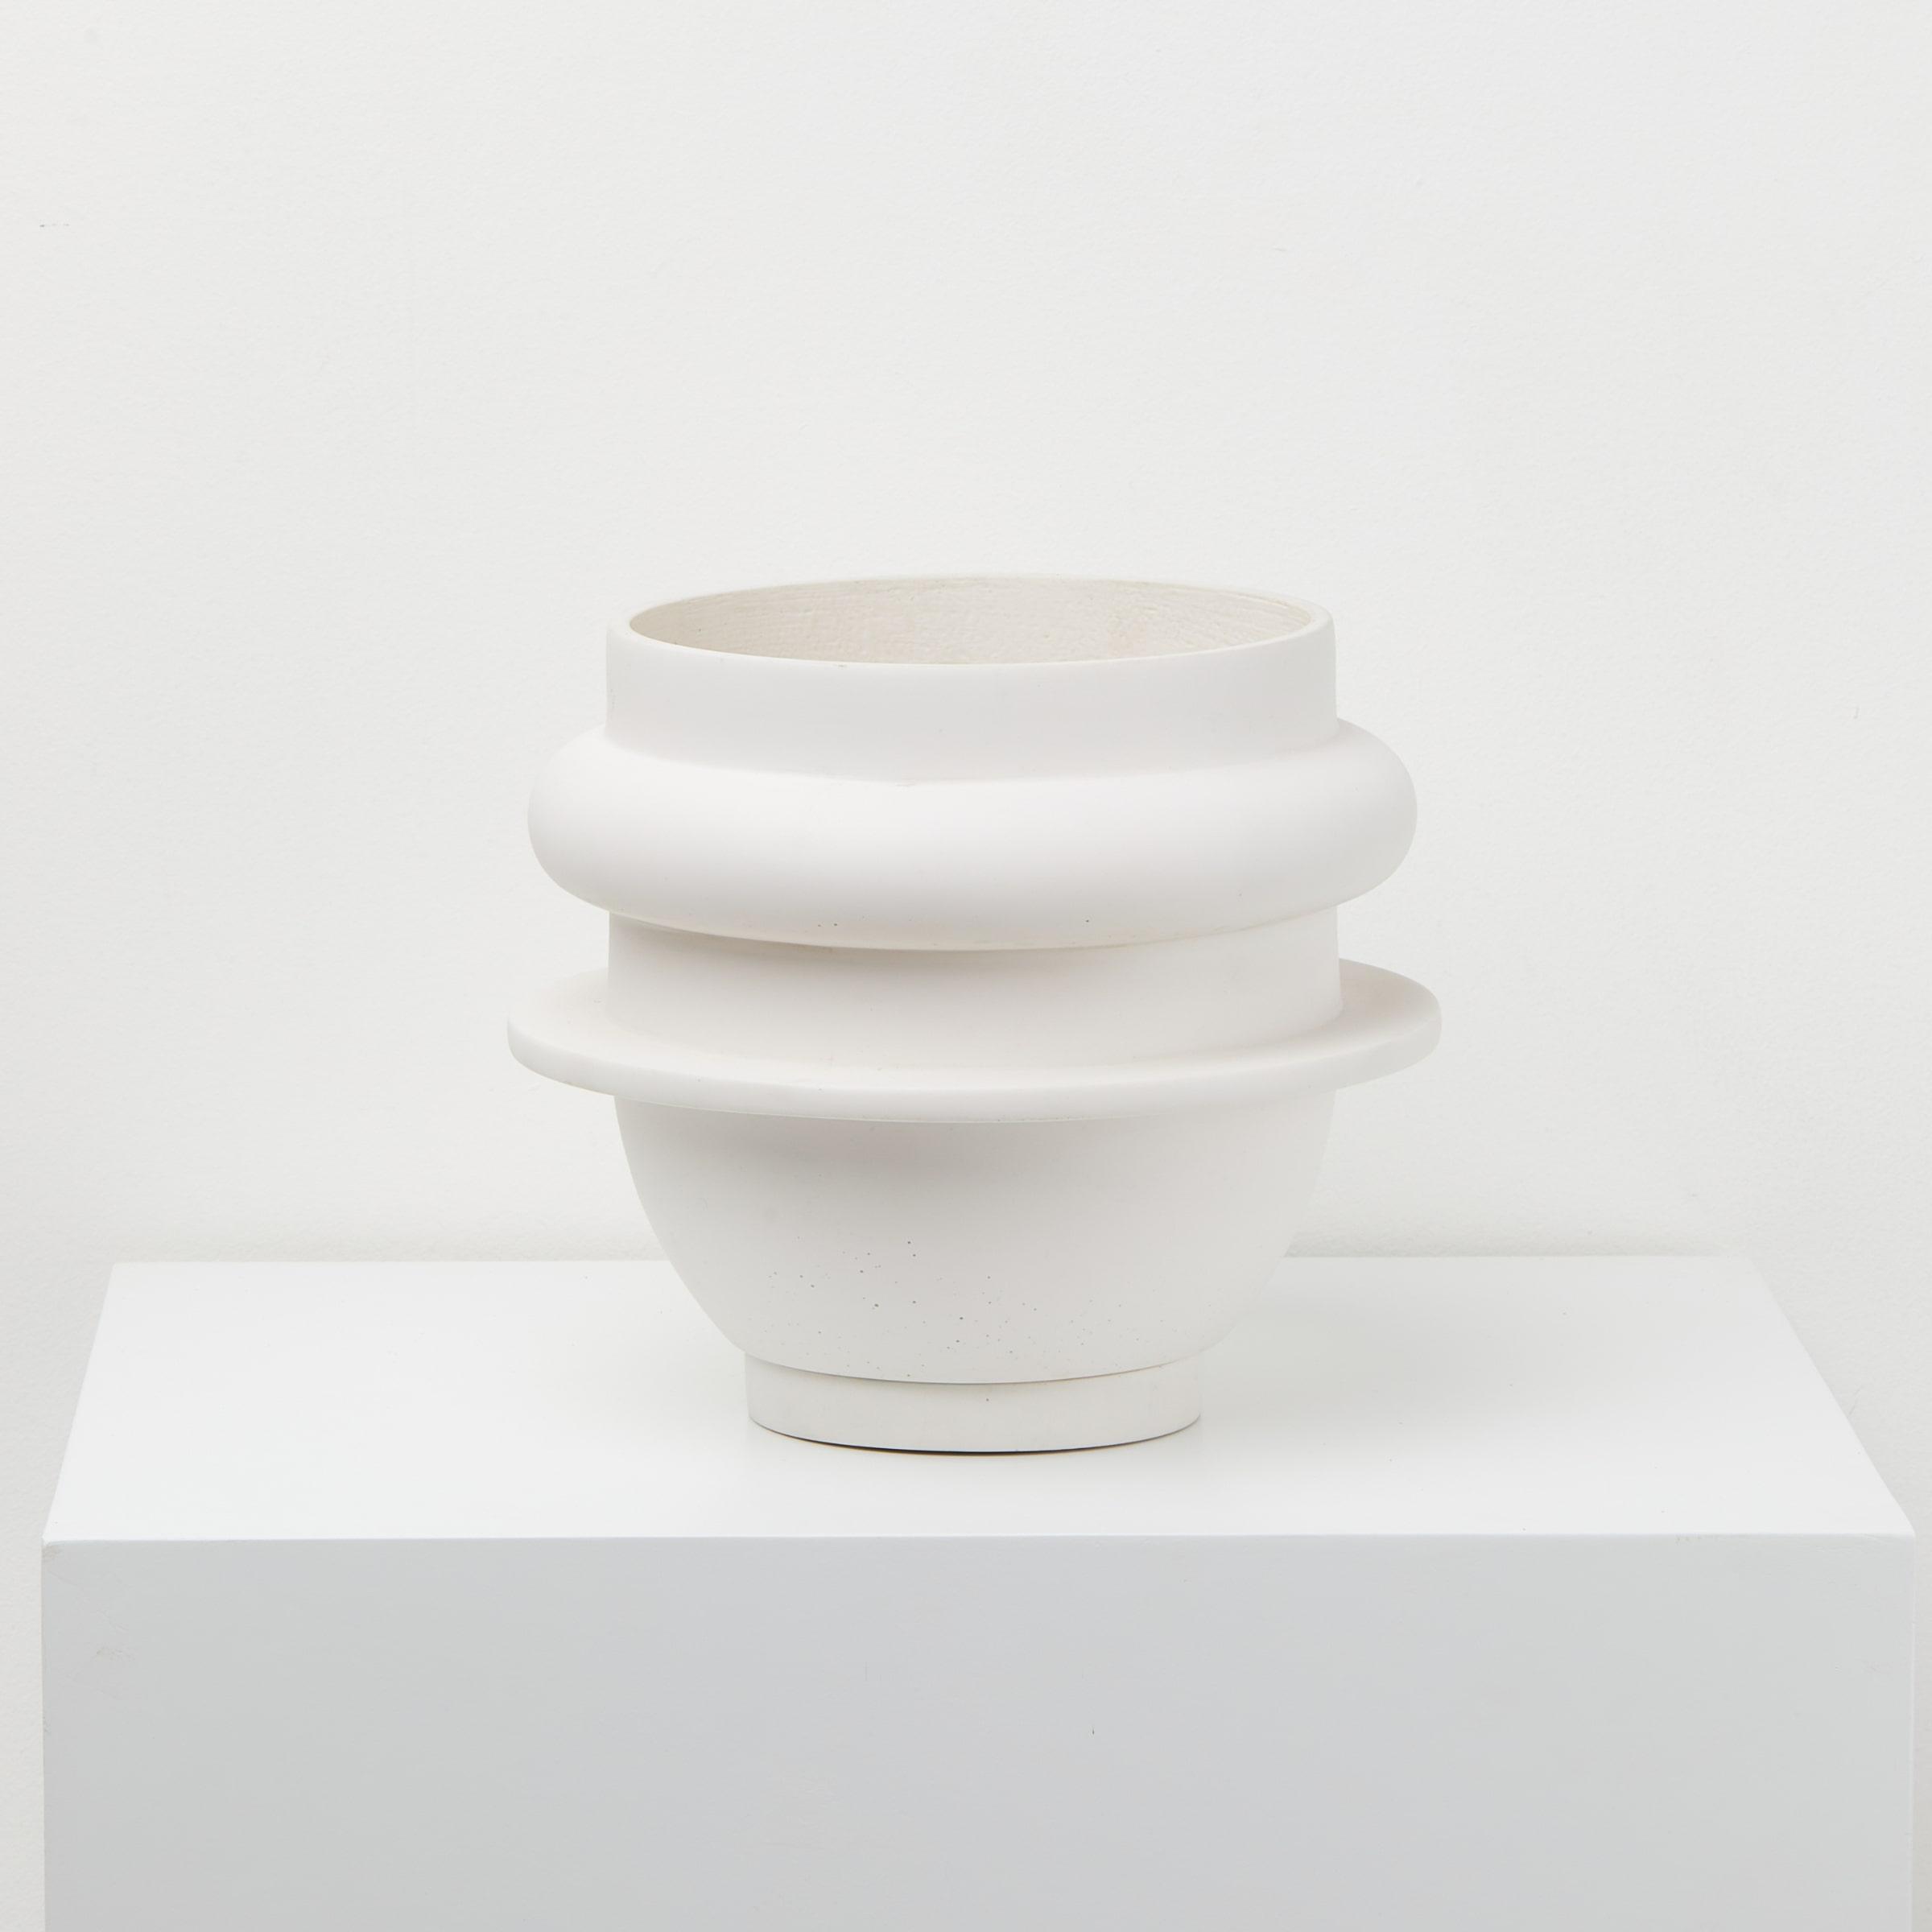
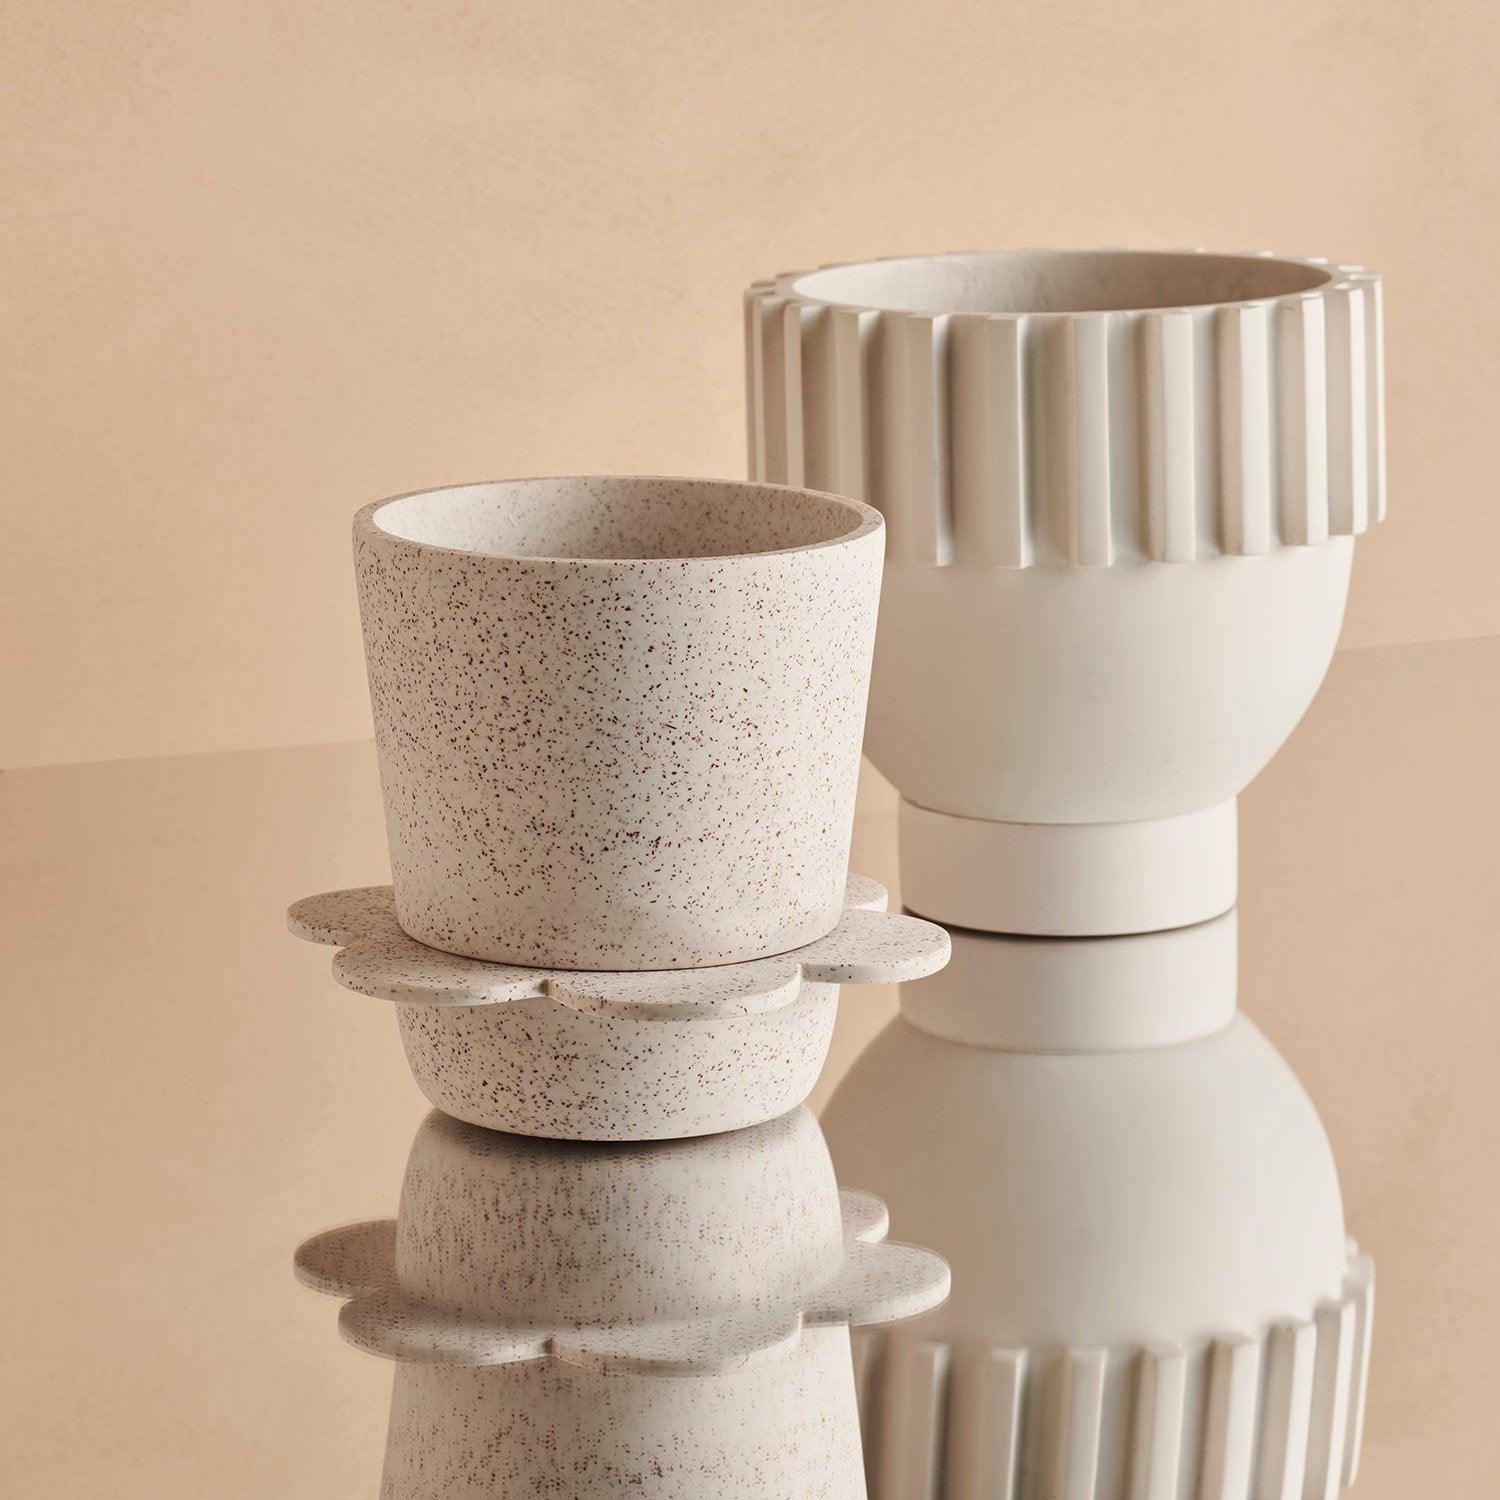
For my demonstration, I opted for our stunning Archie Terrazzo Planter in Musk color and a luscious maranta plant.
1. Watering your plant
Before starting to wrap, it is essential to ensure your plant pot is not leaking in any way. Of course, you also want your plant to look green and healthy when unwrapped so, the question is, when is the right time to water it before wrapping? We recommend watering 48 hours prior to wrapping to give the pot plenty of time to drain without starving the plant of hydration.
2. Pots with trays
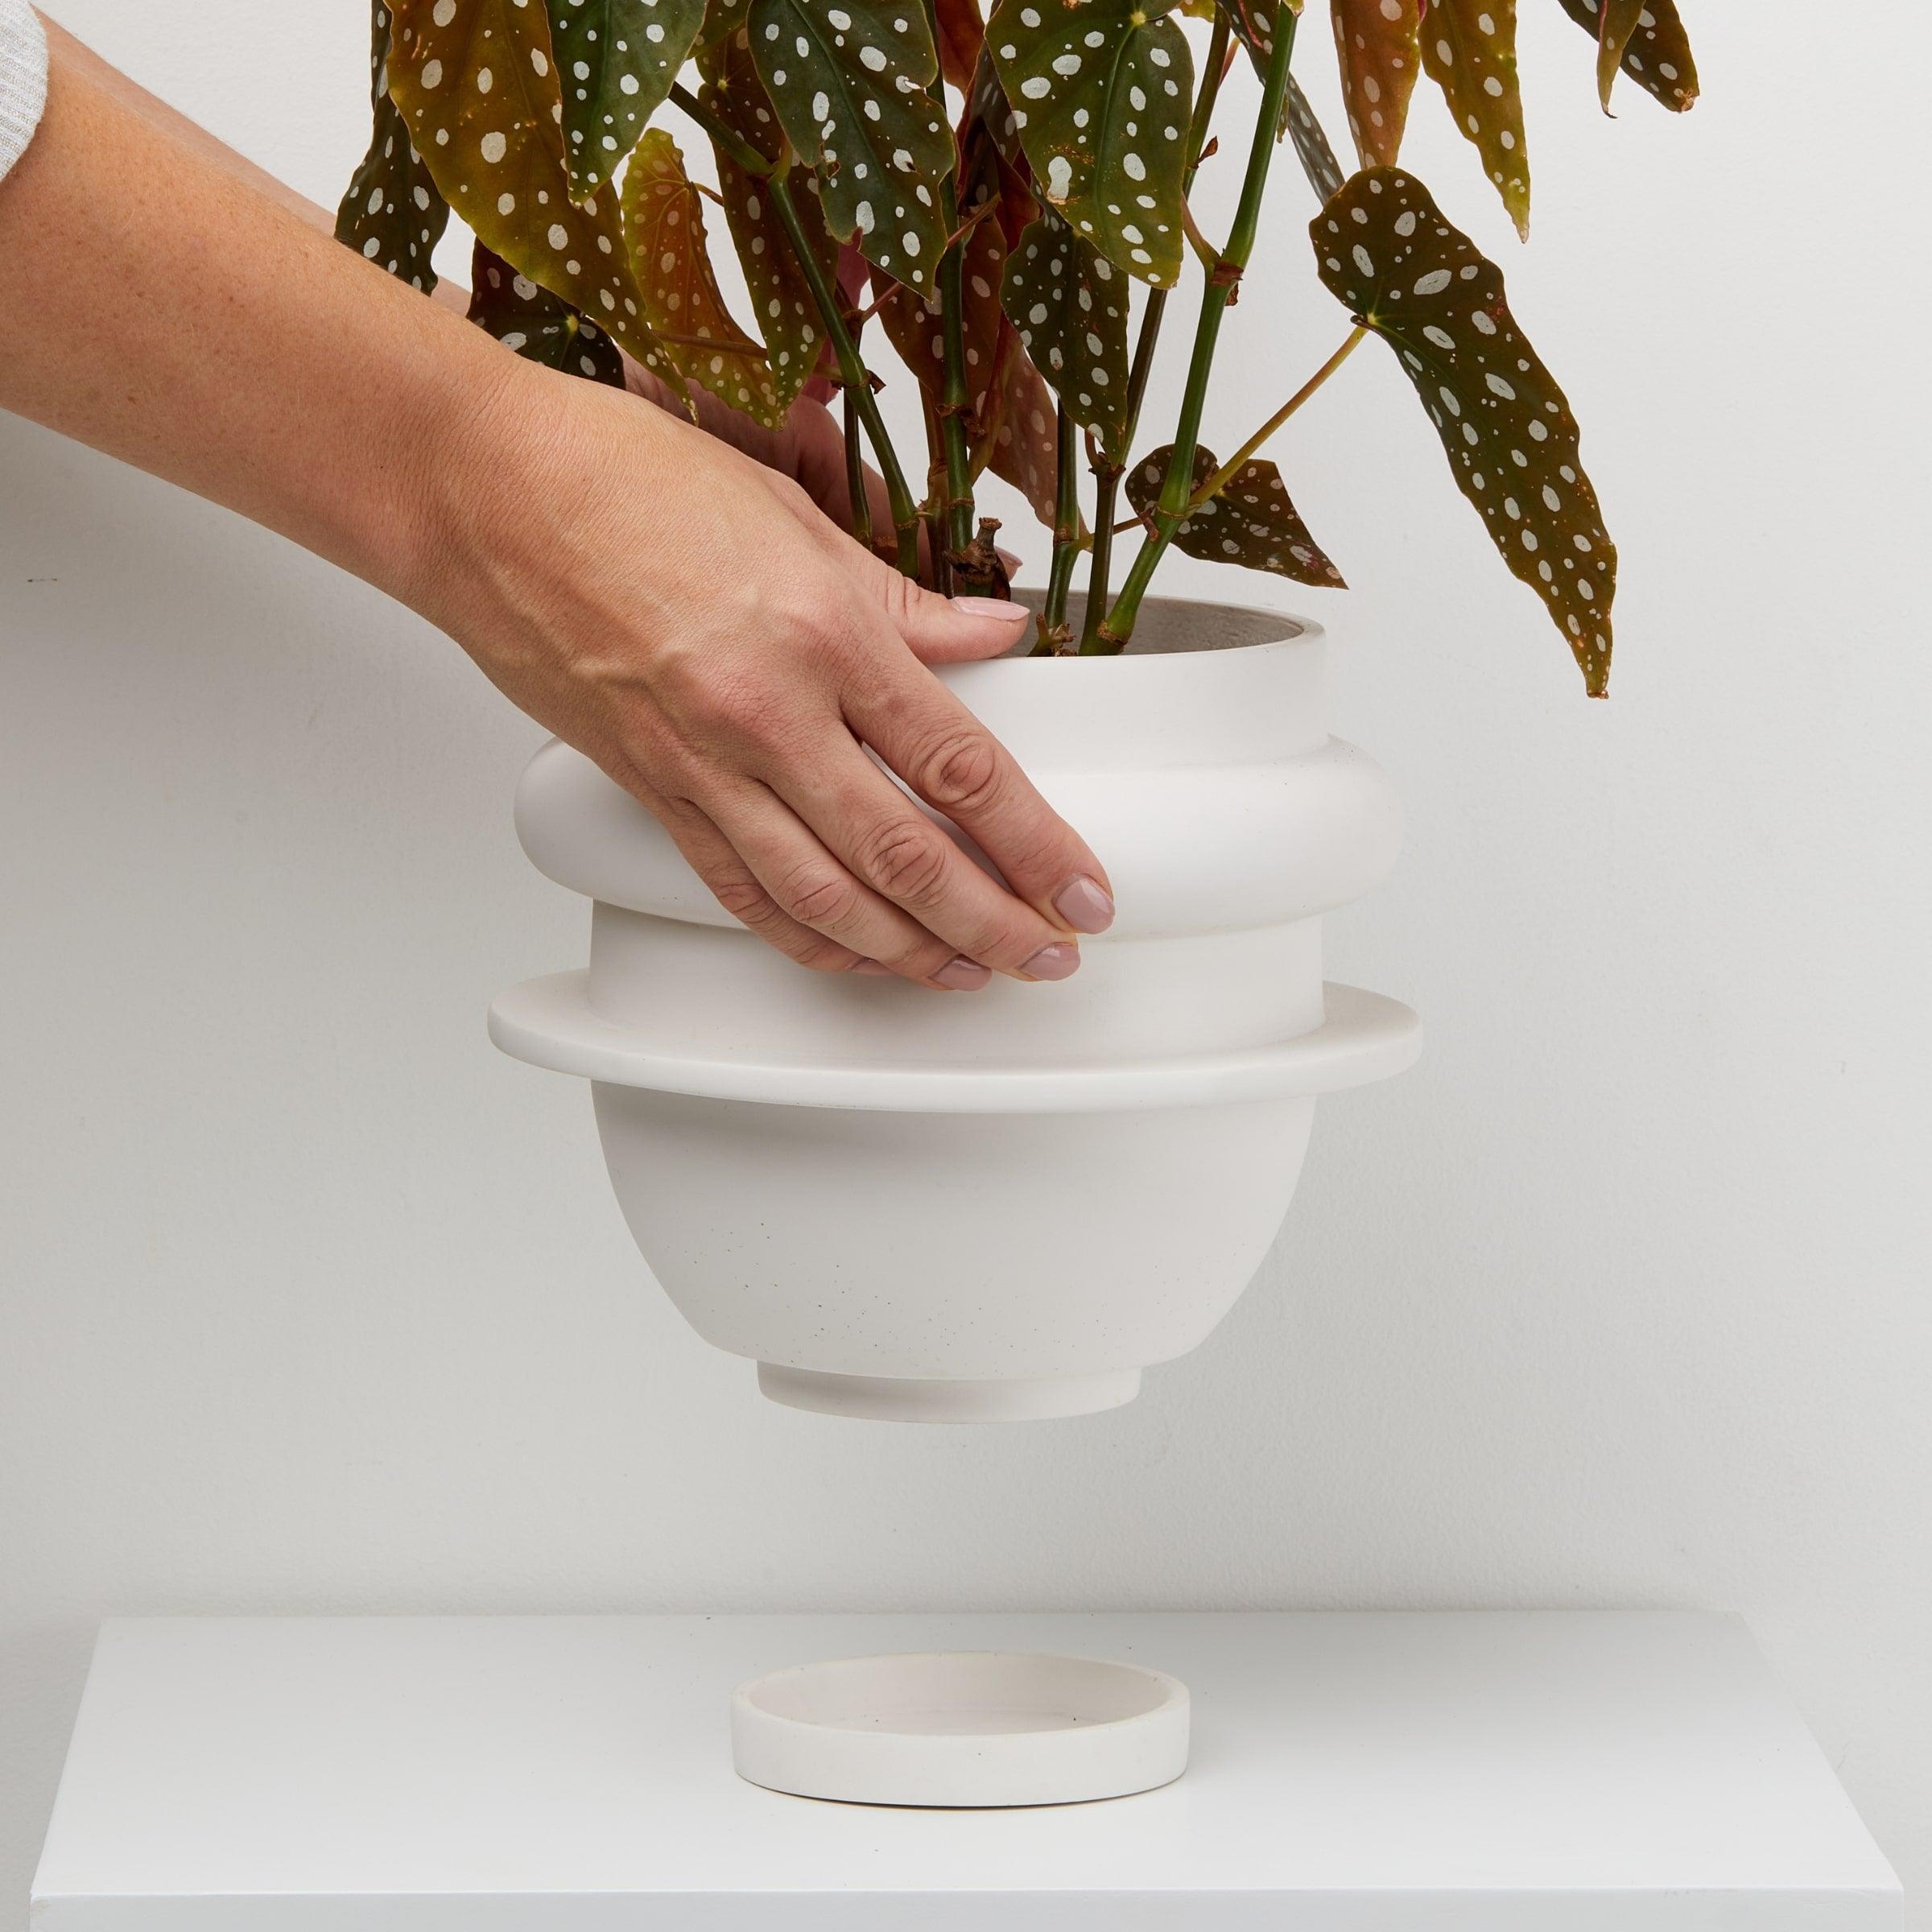
If - like our Archie Terrazzo Planter - your pot has a detachable water tray, you need to make sure this is secured to the base to avoid any mishaps. We recommend using masking tape for this job as it is strong enough for the job without leaving behind any sticky residue.

3. The Paper
Next, cut a generous length of craft paper. For reference purposes, our pot featured here required 19” in length to be cut.


5. Place your potted plant at the center of this triangle. The base of the plant pot should lie alongside the base of the triangle, while the top of the plant should sit roughly centrefold with the tip of the triangle.

6. Wrap the two corners snuggly around the plant pot, one over the other. Use masking tape at this point to ensure the wrapping is held firmly in place.

7. Personalise your gift.
Now it’s time to sprinkle in a little personalisation in a way only you know best. Add a ribbon or some stickers for some added flair, as well as to help hold the wrapping securely. Place a handwritten card amongst the foliage and you’re ready to go.


There you have it, the perfectly wrapped decorative indoor planter courtesy of Capra Designs. Just make sure to treat it with care, the last thing you want is to lose any soil or damage any leaves in transit.
All we ask in return for our little tutorial is that we get to see the end result. Please take some photos and tag us over on our Instagram: @capradesigns. Let us know what the gift is for too. Whether meant as the perfect housewarming gift idea or Thanksgiving treat, we want to celebrate alongside you! We can’t wait to hear from you.
Xx - The Carpra Designs Team


